It’s been a few weeks since i last wrote anything. Mainly because there’s not much to write about since A Frames were made.
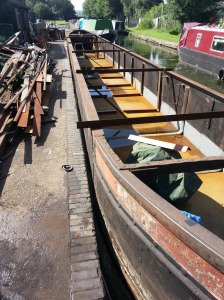
However, now, things have moved on a bit! the footings and bottom are now watertight! This is good, because they day before I planned to go up and black the hull, they took her off dock!
At least we know she doesn’t leak!
I had hoped to get some cabin beams on her to hold her into beam, and also the A Frames fitted but ho hum. They have assured me she’s going back on on Monday to be finished off, blacked, and the Kelson fitted. In the meantime the braces are staying on!
So the plans changed somewhat. On dock we realised that the second gunnel we had reinstated had a bit of a wobble on it, so we spent a couple of hours tweaking the position of it, luckily when the tack welds were cut, it naturally fell to where it needed to be.
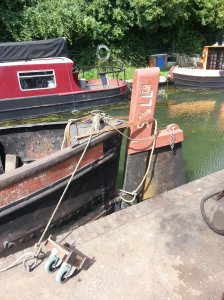
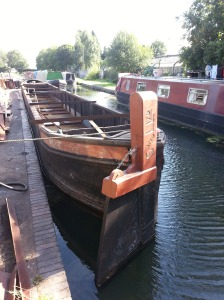
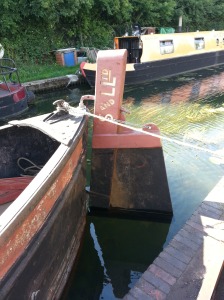
The next job we decided to do was fit the rudder. Pete offered the use of the crane at the yard, but i was trying to not use it, as being a man I was convinced we could do it on our ownI So we found the small set of wheels on the boat and wheeled it round from the side of dock. We had measured the lower pintle a couple of times, and it is within 5/8″ of the base plate, but as she is only drawing 6″, not too much of a problem. More on this later!
We had plenty of lifting equipment, and ratchet straps to assist, and it was decided to stand it up, and half get it over the bank, square it up to the hull, and slide it down and on, bit of a one chance saloon, in case we missed!! we decided to reduce the risk and push the fore end over to the other bank, to get the stern post closer to the bank. This helped alot!
We had a couple of ropes on it, and before we knew it, it had teetered over the edge, a slight moment of fear, and then the lower pintle was located! Luckily it slipped in 1st time and we didn’t miss!
We secured the top with a ratchet strap to allow us to pull it into position, as we had to take an average due to the battered stern post.
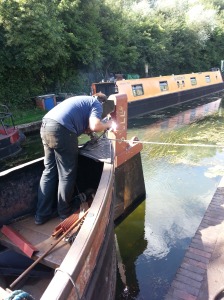
The next job was to position the top pintle. This needed a bit of careful measuring. The locking nut on the back is an M30 one which needed to clear the corner, so we took the absolute bare minimum clearance and then altered the angle until the pintle was parallel to the lower one. This puts the pintle a couple of inches higher than we would have liked, but as I didn’t have a forge or blowtorch to hand to alter the angle, It didn’t offend me enough to warrant stalling the job!
The next thing we looked at was the top pintle socket. Tom thought the recess wasn’t deep enough so he pootled off to find a bit of 1 3/4″ bar to make a new one, also the hole was a bit too big, by about 1/4″ so a smaller one was drilled.
While he was away I cleaned up the first gunnel of the remains of the upstand, which didn’t take too long to remove, although a bit of it flew off and caught my skin, which hurt a bit!
Tom came back with a new Pintle socket, and it worked a treat, although we thought the hole was in hindsight a bit small. We cleaned the pintle up a bit to get a better fit, but even so, when it was tacked into position, there wasn’t enough play on it and the welds snapped. So Tom took it back to widen the hole, which then worked a treat. Once back we welded it into position, and then checked the extremes of rudder swing, and once there, tacked it into position.
Once the pintle socket was secured, we looked at attaching the pintle to the rudder stock, to ensure it was hanging straight and true. This took a bit of time and manipulation, but eventually we succeeded!
Going back to the bottom of the blade when its swung round, it doesn’t quite come far enough as the lower float catches the base plate, so once back on dock, i may look at tweaking the front edge to allow it to swing a bit further. The other bit I need to rectify is a wedge spacer to square off the M30 nut on the back edge.All of these are little niggles, but overall i’m very happy with it, and once these couple of niggles are rectified, it should look grand!!
Regards for now,
Dan
